
This article contains affiliate links. As an Amazon Associate, I earn from qualifying purchases at no extra cost to you.
Holes in the wall happen all the time, whether from moving furniture, accidental damage, or removing wall fixtures. The good news is that fixing them is much easier than most people think.
With a few basic tools and the right approach, you can repair small to medium holes quickly and make your wall look like nothing ever happened.
Start by assessing the size of the hole
The repair method depends on how big the hole is. Small nail holes are quick fixes, while larger holes may require patching material and a bit more effort.
Understanding the size helps you choose the right solution and avoid overcomplicating the repair.
Clean and prepare the damaged area
Before patching, remove any loose debris around the hole. This helps the repair material stick properly and creates a smoother finish.
A clean surface is key to making the repair look seamless once it’s done.
Apply patching compound for small holes
For minor holes, all you need is a filling compound. Apply it directly to the hole and smooth it out evenly.
Using a wall repair spackle with smoothing tool makes this process faster and helps create a clean finish without much effort.
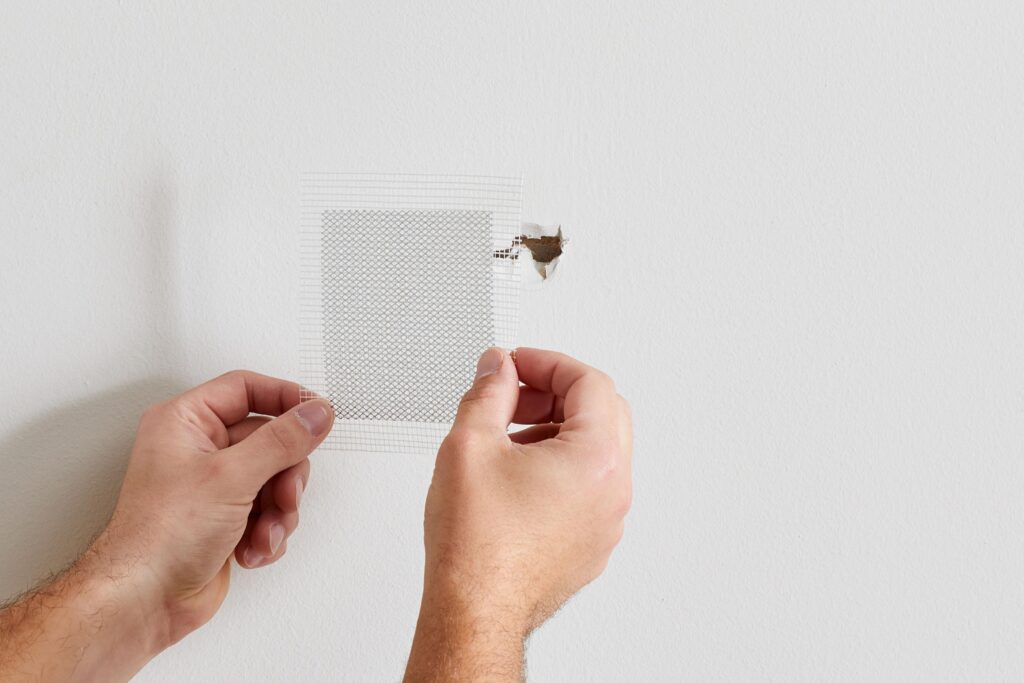
Use a patch kit for larger holes
If the hole is bigger, a simple fill won’t be enough. A patch kit provides structure and support so the repair holds properly.
A drywall repair patch kit for medium holes is ideal for these situations and makes the process much easier, even for beginners.
Smooth the surface evenly
Once the patch is applied, smooth it out so it blends with the wall. This step is important for achieving a professional-looking result.
Take your time here, as uneven surfaces will be noticeable after painting.
Let it dry before sanding
Patience is key. Allow the repair to dry completely before sanding. Rushing this step can ruin the finish and require you to start over.
Drying time will depend on the material used, but it’s usually fairly quick.
Sand the area for a seamless finish
After the patch is dry, lightly sand the area to make it smooth and even with the rest of the wall.
A fine grit sanding sponge for drywall finishing helps you achieve a clean, professional look without damaging the surrounding surface.
Paint to match the wall
Once everything is smooth, apply paint to blend the repaired area with the rest of the wall. In most cases, the repair will be completely invisible after this step.
Matching the paint color properly makes a big difference in the final result.
Keep basic repair tools on hand
Having the right tools ready makes repairs like this quick and stress-free. Small fixes become much easier when you’re prepared.
If you’re building your DIY setup, check out tools you always need for DIY home fixes so you’re ready for any situation.
Handle small repairs before they get worse
Fixing small damage early prevents bigger issues later. What starts as a small hole can become more noticeable over time if left untreated.
For more quick fixes, follow how to fix common household problems quickly to stay ahead of common home issues.
DIY repairs are easier than you think
Patching a hole in the wall is one of the easiest home repairs you can learn. It requires minimal tools, takes very little time, and delivers immediate results.
Once you’ve done it once, you’ll feel much more confident handling other repairs around your home.